
Veteran Repairman’s Proven Conveyor Belt Misalignment Fixes
- Belt misalignment is a common problem
- Part 1: Nine Major Causes of Belt Misalignment and Their Solutions
- Cause 1: The conveyor frame is not installed level
- Cause 2: Skewed installation of the conveyor frame
- Cause 3: The radial centre line of the drum does not coincide with the centre line of the frame
- Cause 4: The axial centreline of the drum is not perpendicular to the frame centreline
- Cause 5: Incorrect alignment of the belt joint
- Cause 6: Material adhesion to drums and idlers
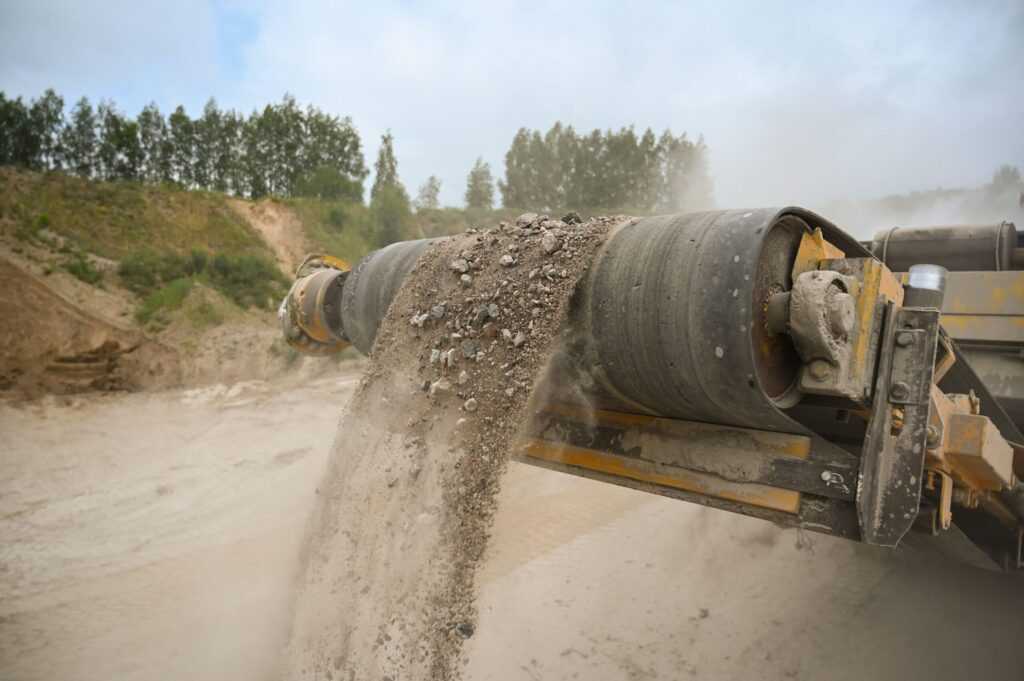
- Cause 7: Material discharge point is offset to one side
- Cause 8: Belt slack; insufficient tension
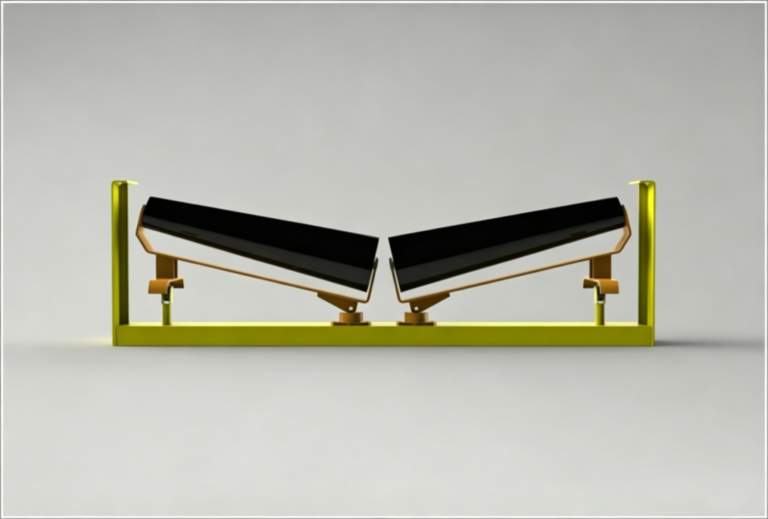
- Cause 9: Skewed idler frame
- Part 2: Summary Table of Causes and Solutions
- Part 3: Common On-Site Adjustment Methods
- Part 4: Safety Precautions
- Conclusion: Summary
- Data Sources
Belt misalignment is a common problem
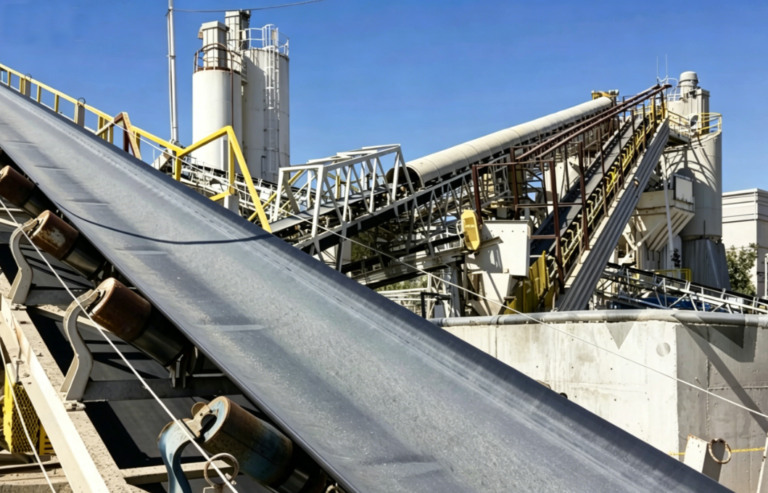
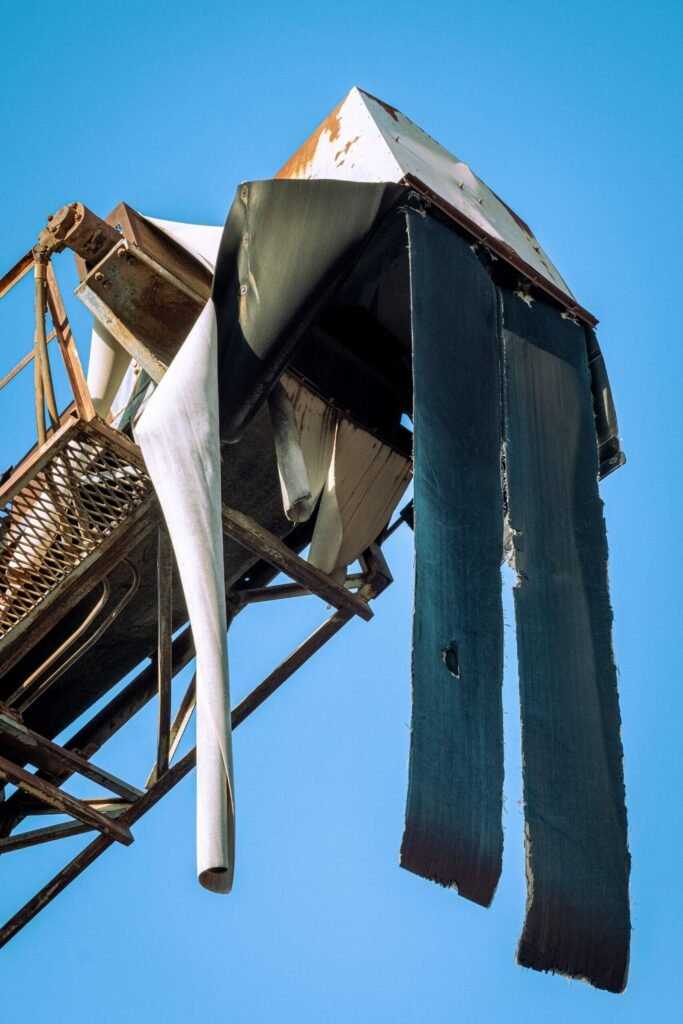
In industrial and agricultural production, the use of rubber conveyor belts for material handling is a very common method of transporting goods. When conveying materials, the belt must run smoothly to prevent spillage. If the belt becomes misaligned during operation, material spillage may occur. Severe spillage can disrupt production and even lead to machine downtime. Furthermore, misalignment increases the workload for workers and affects on-site hygiene. Furthermore, belt misalignment can cause abrasions to the belt, reducing its service life. It is therefore essential to prevent belt misalignment as far as possible. Below, we will discuss the various causes of belt misalignment and their remedies.
Part 1: Nine Major Causes of Belt Misalignment and Their Solutions
Cause 1: The conveyor frame is not installed level
Description: A conveyor frame installed horizontally is not level in both the longitudinal and transverse directions. If installed at an angle, the inclination angles on both sides are inconsistent. This results in one side of the frame being higher than the other, or the frame fluctuating in height. The idler frame may also be uneven after installation. The belt will drift towards the higher side.
Solution: Use a spirit level or levelling instrument to check whether the levelness of the conveyor frame exceeds the tolerance limits and whether the inclination angles are consistent, then adjust the conveyor frame based on the measurement data.
Cause 2: Skewed installation of the conveyor frame
Description of the phenomenon: The centre lines of the conveyor frame are not aligned in a straight line. The belt will drift at the point of skew.
Solution: Measure the deviation of the centre lines using the plumb line method or a theodolite, then adjust the conveyor frame based on the measurement data to ensure the centre lines are aligned.
Cause 3: The radial centre line of the drum does not coincide with the centre line of the frame
Description of the phenomenon: The radial centreline of the head drive drum or tail drum does not coincide with the centreline of the conveyor frame. The belt will drift at the head or tail drum.
Solution: Measure using a tape measure and a right-angled steel ruler. Adjust the position of the drum so that its radial centreline coincides with the centreline of the conveyor frame.
Cause 4: The axial centreline of the drum is not perpendicular to the frame centreline
Description of the phenomenon: The axial centreline of the head drive drum or tail drum is not perpendicular to the centreline of the conveyor frame. The belt runs off-centre at the frame section near the drum.
Solution: Measure using a steel ruler, a right-angled steel square or a theodolite, and adjust the drum centreline so that it is perpendicular to the frame centreline.
Cause 5: Incorrect alignment of the belt joint
Description of the phenomenon: When bonding the belt, the joint has not been aligned correctly. The belt will drift to either side of the joint.
Solution: The most thorough solution is to re-splice the belt joint. However, this approach is rarely adopted in practice because, when splicing the belt, the dimensions are typically kept to a minimum to account for elongation after tensioning, leaving little or no allowance for re-splicing. Provided the deviation remains within acceptable limits, it is generally not addressed; instead, additional self-aligning idler frames may be installed to assist with alignment.
Cause 6: Material adhesion to drums and idlers
Description of phenomenon: When material adheres to the surfaces of drums and idlers, their diameters become uneven. The belt will drift towards the side with the greater accumulation of material.
Solution: Remove the adhered material. Install scrapers and material removal devices, and fit a material collection trough at the tail drum to prevent material build-up.
Cause 7: Material discharge point is offset to one side
Description: When material falls from the discharge chute, it is offset to one side of the belt rather than the centre. The belt will drift towards the side with less material.
For example: If the discharge point is offset to the left, there will be more material (heavier) on the left side of the belt and less material (lighter) on the right side; consequently, the belt will drift to the right.
Solution: Adjust the material discharge point so that it falls at the centre of the belt. Install a guide chute and add a material baffle (which can be made from a decommissioned belt).
Cause 8: Belt slack; insufficient tension
Description: If the belt tension is insufficient, the belt will drift back and forth between the left and right sides during operation.
Solution: Adjust the tensioning screw on the tail drum to pull the drum backwards and increase the tension. For conveyors designed with a counterweight drum, the weight of the counterweight can be increased as appropriate.
Cause 9: Skewed idler frame
Description of the phenomenon: The idler frame is installed at an angle. The belt will drift towards the side of the idler frame that is set further back.
Solution: Align the idler frame. Move the side that is set further back forwards, or move the side that is set further forward backwards; either method will achieve the desired correction.
Part 2: Summary Table of Causes and Solutions
| No. | Cause of Misalignment | Solution | Measuring Tool |
|---|---|---|---|
| 1 | Frame is not level | Adjust frame level | Spirit level, leveling instrument |
| 2 | Frame centerline is skewed | Measure with string or theodolite and then adjust | String line, theodolite |
| 3 | Pulley radial centerlines are misaligned | Adjust pulley position | Tape measure, steel square |
| 4 | Pulley axial centerline is not perpendicular | Adjust pulley verticality | Steel rule, theodolite |
| 5 | Belt splice is uneven | Install self-aligning idler frames | — |
| 6 | Material build-up on pulleys or idlers | Remove build-up, install belt cleaners | — |
| 7 | Off-center loading point | Adjust loading point, add skirtboards | — |
| 8 | Insufficient belt tension | Tighten screw take-up or add counterweight | — |
Part 3: Common On-Site Adjustment Methods
In actual production, there are three most commonly used methods for correcting belt misalignment:
Installing self-aligning idler frames: These can automatically correct minor belt misalignment.
Adjusting the tail drum: Change the tension by adjusting the tensioning screw.
Adjusting several sets of fixed idler frames: This allows for fine-tuning of localised misalignment.
Important Reminder
When adjusting the belt, always make small adjustments; do not adjust too much at once. Otherwise, the belt may veer directly to the other side, which would be counterproductive. Make small adjustments each time, observe how the belt runs, and then decide whether to continue adjusting.
Part 4: Safety Precautions
Special Note: Under no circumstances should you touch the belt whilst it is running, nor should you use any tools to pry at the idlers or drums! All adjustment operations must be carried out whilst the machine is shut down. Safety must always come first.
Conclusion: Summary
Belt misalignment is the most common issue in belt conveyor systems. Provided the root cause is identified and addressed appropriately, most misalignment problems can be resolved. It is hoped that the nine main causes and their solutions summarised in this article will be of assistance to on-site maintenance personnel.
Data Sources
Measuring tools mentioned in the text (spirit level, levelling instrument, theodolite, tape measure, right-angled steel ruler, steel ruler) — standard tools for engineering surveying
Classification of the nine main causes of belt misalignment — summary of the author’s on-site work experience and standard industry classification
Adjustment mnemonic: “Tighten if it drifts, do not loosen; raise if it drifts, do not lower; move it back if it drifts, do not move it forward” — industry-standard practice
Recommendations for installing self-aligning idler frames — standard on-site maintenance practice



 English
 العربية
 Русский
 Español
 Português do Brasil