
Conveyor Belt Cut Through? Here Are the Best Repair Methods
Conveyor Belt Cut Through? Here Are the Best Repair Methods
Introduction: A Common Problem in Mining and Cement Plants
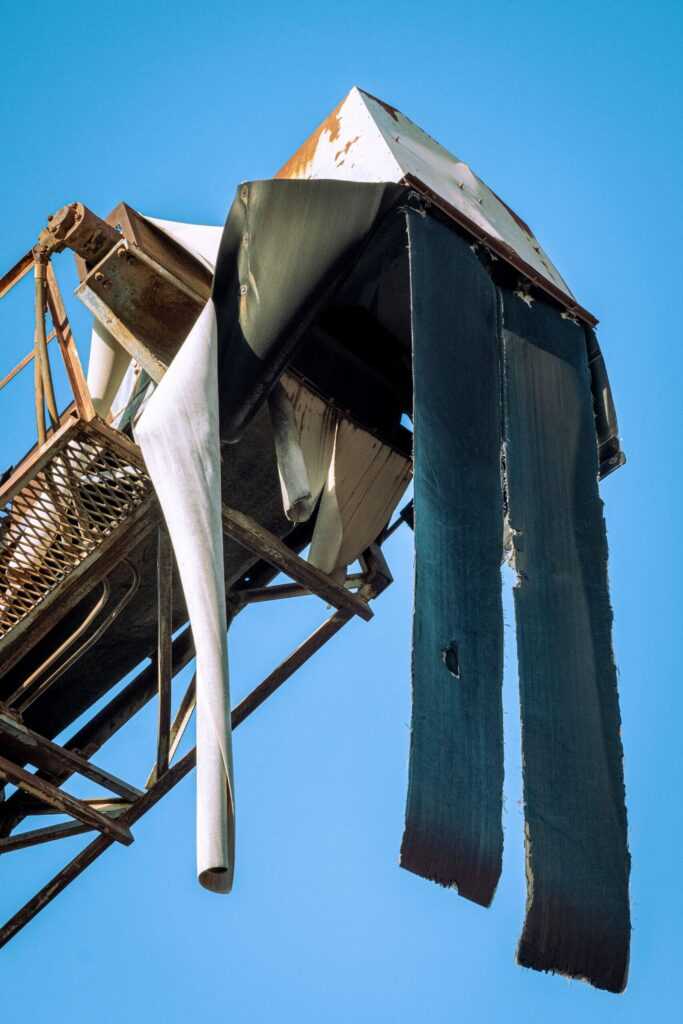
Conveyor belt cuts and tears are common in industries such as coal mining, cement, and aggregate processing. When the belt is damaged, production stops. Finding a fast and effective repair method is essential.
This article introduces a quick repair method using conveyor belt repair strips.
Part 1: What Are Conveyor Belt Repair Strips?
Repair strips are a new type of patching material for conveyor belts. They are used to repair:
- Wear
- Tears
- Punctures
In recent years, repair strips have become the primary method for conveyor belt repair.
Key Features of Repair Strips
| Feature | Benefit |
|---|---|
| Contains a semi-vulcanized layer | Strong adhesion to the belt |
| High tensile strength | Withstands belt tension |
| Fast repair | Minimizes downtime |
| Easy to apply | No special tools needed |
| Ready to use immediately | No waiting time |
Repair strips are suitable for:
- Long-distance scratches
- Through cuts
- Edge wear
- Local rubber damage
- Sealing cold splices
Part 2: Step-by-Step Repair Procedure
Step 1: Surface Preparation
1.1 Clean the Belt Surface
Grind the damaged area of the belt to roughen the surface. Then clean it with rubber cleaner. Make sure the surface is free of oil, dirt, and moisture.
1.2 Activate the Repair Strip
Use rubber cleaner to activate the CN layer on the repair strip. (Note: The semi-vulcanized layer may become less active over time. Use cleaner or light grinding to reactivate it before use.)
Step 2: Apply Rubber Adhesive
2.1 Mix the Adhesive
Mix the two components of the high-strength rubber adhesive in a ratio of 25:1 by weight (Part A : Part B).
2.2 Apply the First Coat
Brush the adhesive onto both the prepared belt surface and the CN layer of the repair strip.
2.3 Apply the Second Coat
Wait for the first coat to dry (at least 15 minutes). Then apply a second coat. Wait until the second coat becomes tacky but not fully dry—usually about 5 to 10 minutes—before bonding.
Note: If the second coat dries too much, the bond strength will be reduced.
Step 3: Bond the Repair Strip
3.1 Align the Surfaces
Align the repair strip with the damaged area and press them together.
3.2 Remove Air Bubbles
Use a press roller or rubber mallet to press from the center toward the edges. This removes air and ensures full contact.
Note: The adhesive has high initial tack, so align the strip correctly on the first try.
Part 3: Important Safety and Operating Notes
| Condition | Requirement |
|---|---|
| Temperature | Above 15°C for best results |
| Humidity | Below 90% |
| Low temperature | Use infrared lamp to heat the area |
| Moisture | Keep surfaces dry. Water reduces bond strength |
| Ventilation | Adhesive and cleaner contain solvents. Ensure good airflow |
Part 4: When to Use Two Layers
For long tears, it is recommended to apply repair strips to both sides of the belt. This provides extra strength and protection.
Limitations of Repair Strips
- Repair strips cannot fill large gaps or uneven surfaces effectively.
- The strip has thickness, which may be caught by belt scrapers.
- If a scraper hits the strip, it may damage the scraper or peel off the strip. Re-adjustment may be needed after repair.
Data Sources
- Repair strip manufacturer technical data sheets
- Industry best practices for conveyor belt repair
- Haihui field service records and customer feedback

 English
 العربية
 Русский
 Español
 Português do Brasil